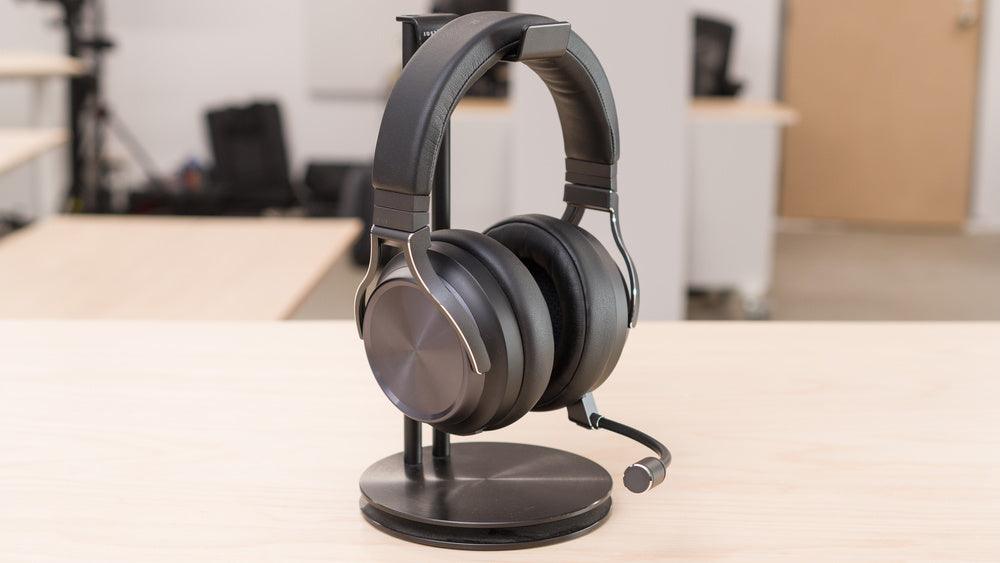
In this short guide, we'll show you how to connect your headset to your PC in just a few steps.
Preparation:
-
Fully charge the headset: Connect the headset to the included USB charging cable and a USB port on your computer.
-
Install iCUE: Download and install the latest version of Corsair iCUE from the official Corsair website. This software is essential for configuring your headset.
Establish connection:
-
Select operating mode:
- Wired mode: For the highest audio quality and to turn the headset off, set the switch to "Wired". Use either the USB cable or the 3.5mm jack.
-
Wireless mode:
-
PC:
- Switch the switch to "Wireless".
- Plug the included wireless USB dongle into an available USB port on your computer.
- Open iCUE and select your dongle.
- Click "Connections" and then click "Pairing" next to "USB Wireless Receiver Pairing".
-
PlayStation:
- Switch the switch to "Wireless".
- Plug the dongle into a free USB port on your PlayStation.
- In the PlayStation settings, under "Output to headphones" set it to "All audio".
- Adjust the headset volume control.
-
PC:
- Additional tips:
- Range: In wireless mode, the headset offers a range of up to 60 meters.
- iCUE: With iCUE you can adjust the lighting, sound and other settings of your headset.
- Issues: If you are having issues, check the Corsair support website or the iCUE community.
Detailed instructions:
For even more detailed instructions, check out the official Corsair Virtuoso RGB Wireless XT user manual. You can also download it from the Corsair website.
Important points:
-
USB port: Use a USB 2.0 or higher port for optimal connection.
-
Interference: Avoid interference from other wireless devices nearby.
-
Firmware updates: Always keep your headset and iCUE firmware up to date.


Teilen: